.svg)
.svg)

Want to build an HR portal that actually fits the way your team works? Build it around your real employee lifecycle ; not generic HR software templates. Map hiring, onboarding, attendance, leave, payroll, documents, performance reviews, and employee requests before you start building.
A good HR portal does one clear thing: it reduces scattered communication and brings HR operations into one controlled system.
Why Does a Custom HR Portal Make Sense?
An HR portal is a centralized platform where employees, HR teams, managers, and admins manage people-related workflows from one place ; covering employee profiles, attendance, leave requests, payroll records, documents, onboarding, performance reviews, and support requests.
Every company handles people's operations differently. Some need strong attendance tracking. Some need smoother onboarding. Some need payroll visibility. Off-the-shelf HR software forces your company to follow its structure. A custom HR portal lets the system follow your workflow instead.
Understanding the HR Portal Development Process
Building an HR portal requires proper workflow planning, not just dashboards and forms. The process flows through five stages: Requirement Analysis (defining HR processes), System Design (planning modules, roles, and database structure), Development (building features and workflows), Testing (validating approvals, records, and permissions), and Deployment and Maintenance (launching and improving over time).
This structure keeps the portal aligned with real HR needs from day one.
How to Build an HR Portal with Rocket.new?
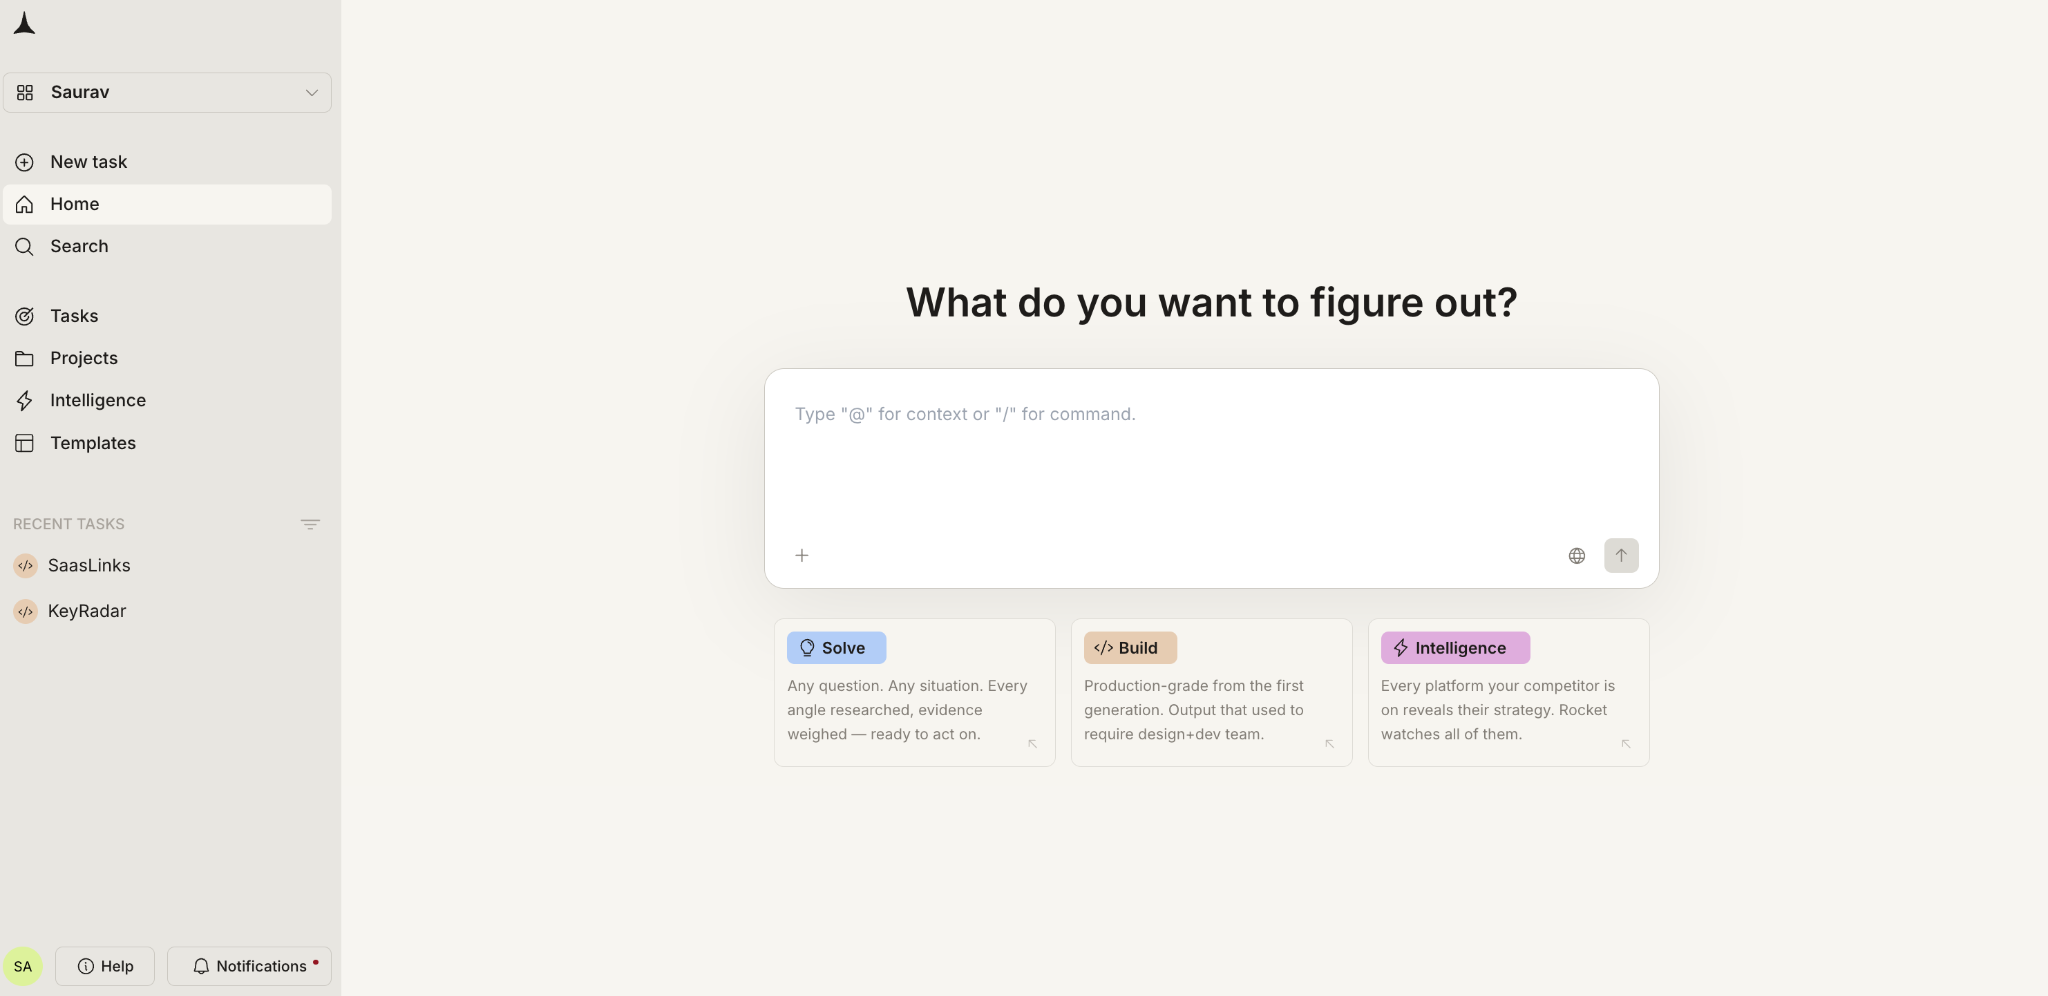
Rocket.new is an AI-assisted app builder that helps teams create structured software systems using prompts, templates, database models, and visual tools. For HR portal development, this means faster setup and more flexibility ; without manually building every page and database table from scratch.
Step 1: Get Clear on What HR Problem You Want to Solve
Don't start by building screens. Start by understanding what your HR team actually struggles with. Ask whether leave requests are handled over email, whether attendance is tracked manually, whether employee documents are scattered, and whether managers need approval dashboards. Write these requirements clearly. An HR portal should reflect actual HR operations ; not assumptions.
Step 2: Define the Core HR Portal Users
Before building modules, define who will use the portal. Most HR portals include employees (profile, leave, payslips), managers (team approvals, reports), HR admins (records, policies, payroll), finance teams (salary data), and super admins (full system control).
This matters because HR portals handle sensitive data. Employees shouldn't see colleagues' salaries. Managers should only access their teams. Ignoring user roles makes your HR portal both risky and messy.
Step 3: Sign Up and Access Rocket.new
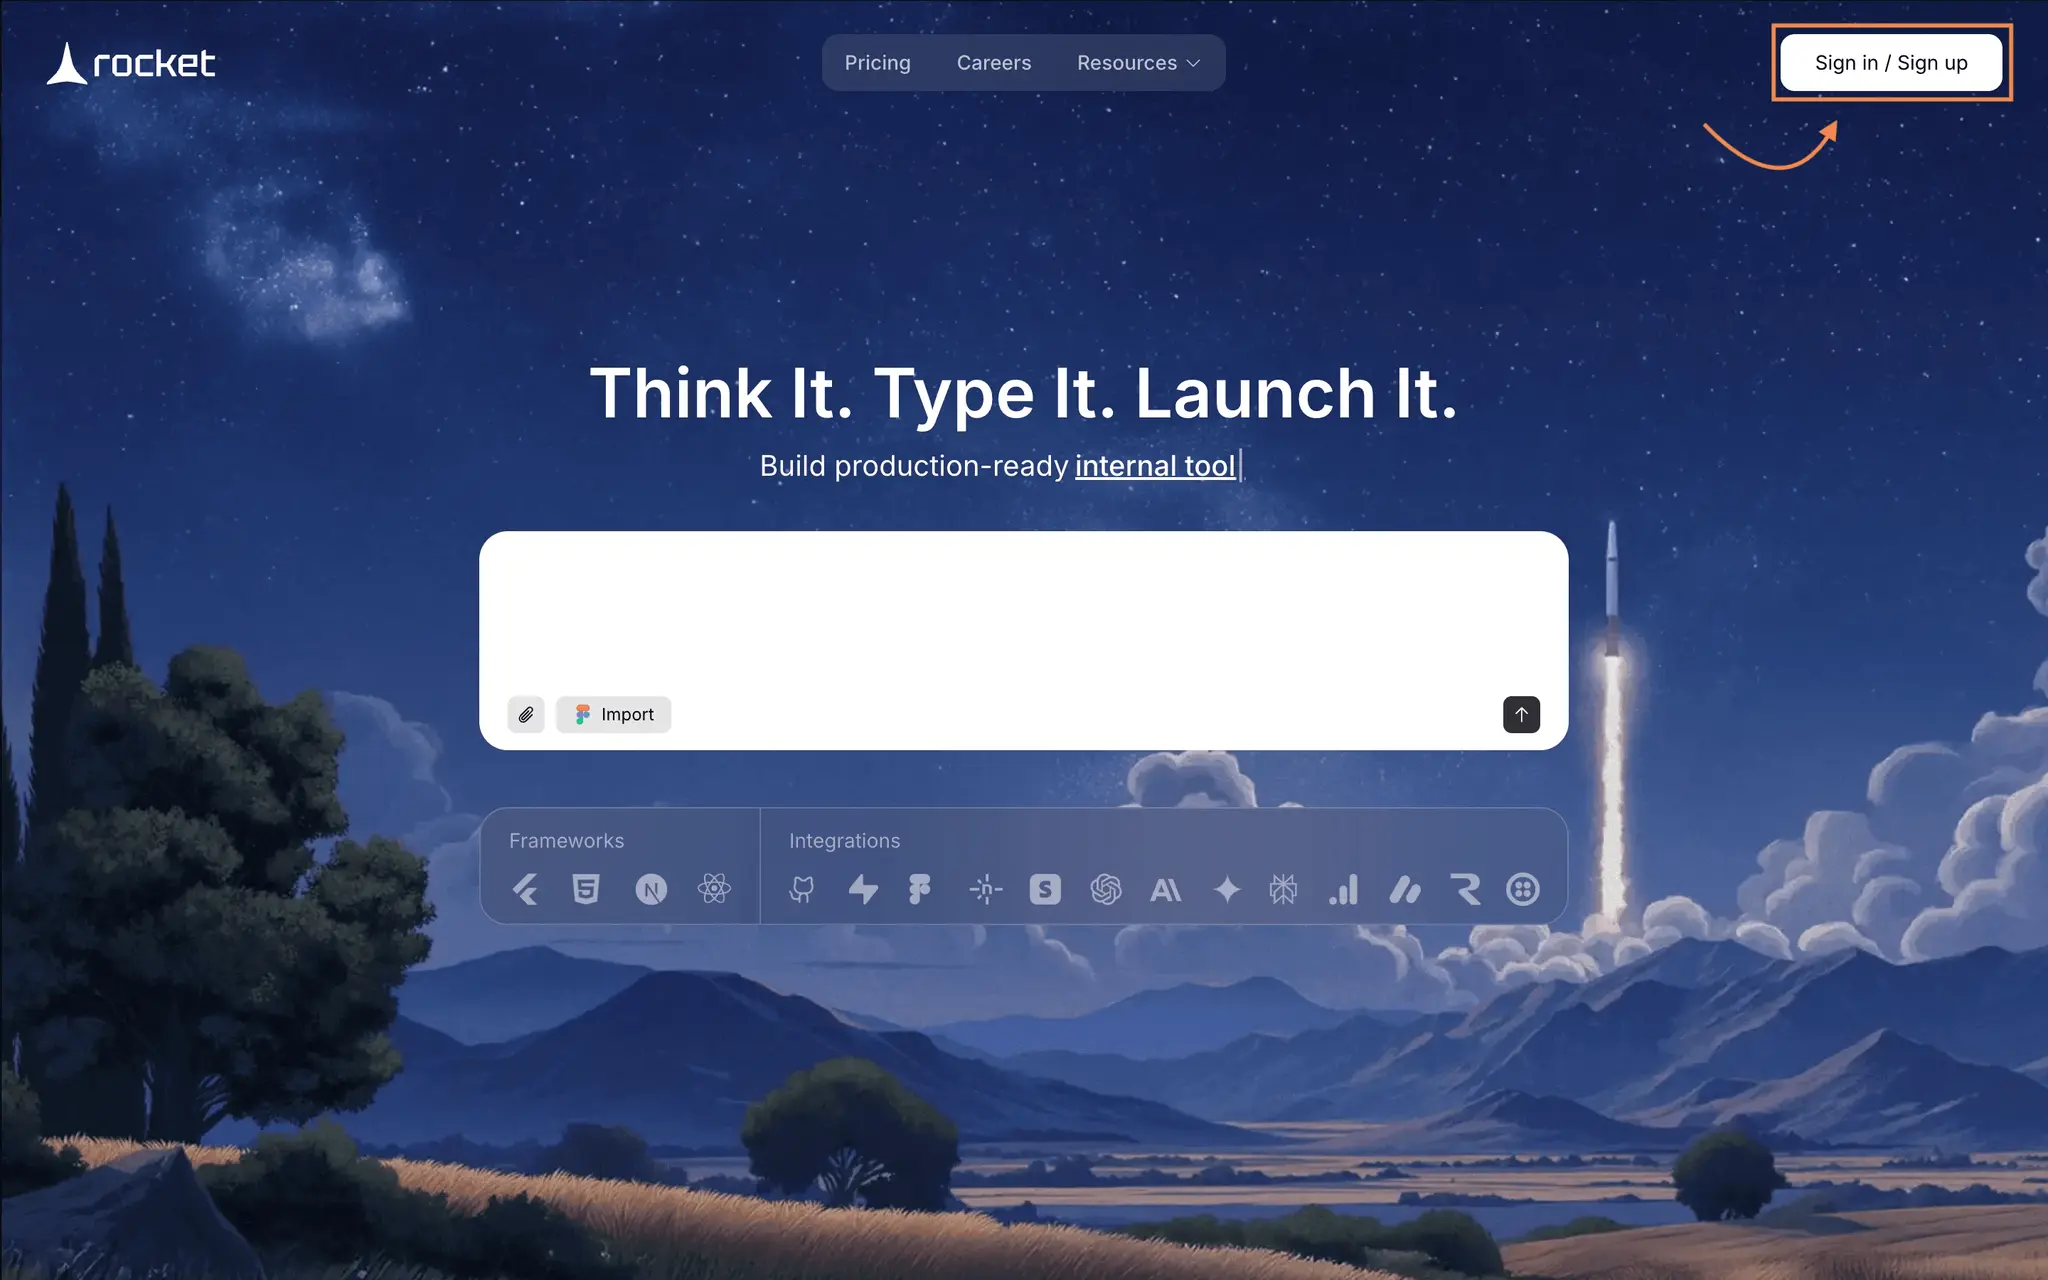
Once requirements are clear, create an account on Rocket.new and go to the Launchpad section. You can describe your needs with a prompt like: "Build an HR portal with employee profiles, leave management, attendance tracking, payroll records, document management, onboarding checklist, manager approvals, and role-based access control."
Treat the first output as a base structure only ; not a finished product. Review every module, database table, and workflow before proceeding.
Step 4: Choose Prompt or Template from the Gallery
Rocket.new offers two starting points. Templates give you admin dashboards, profile pages, data tables, and navigation layouts you can customize for HR-specific workflows. Prompts let you describe your full portal from scratch, generating an initial structure with screens, database models, and UI layout.
Either way, verify that the generated portal matches your actual workflow before moving forward.
Step 5: Define Framework and Technical Structure
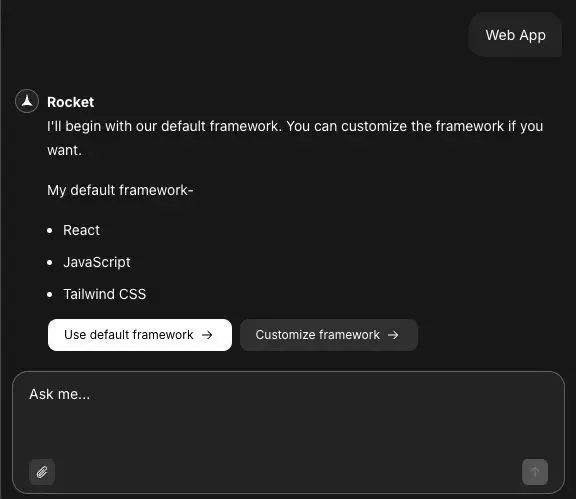
After generating the base app, define the technical structure. Rocket.new typically defaults to React, JavaScript, and Tailwind CSS ; a solid stack for responsive HR dashboards. Refine your database entities at this stage: employees, departments, leave requests, attendance records, payroll, documents, policies, performance reviews, and employee support requests. This is where the portal becomes a real HR system rather than just a visual interface.
Step 6: Build the Main HR Portal Modules
Start with core modules. Don't overbuild on day one.
Employee Profile Management stores name, ID, department, designation, manager, joining date, and employment status ; the foundation of everything else.
Leave Management handles applications, approvals, balance tracking, and notifications through a clear workflow: employee applies, manager approves, HR is notified, balance updates automatically.
Attendance Management covers check-in/check-out, shift records, late marks, work-from-home tracking, and biometric integration where needed.
Payroll and Payslip Access gives employees view-only access to their own salary records, payslips, deductions, and tax declarations ; with broader access for finance and HR based on permissions.
Onboarding Module provides document checklists, policy acknowledgements, asset allocation, and first-week task lists to reduce manual follow-ups.
HR Document Management organizes offer letters, policies, tax forms, and employee files with strict access controls ; some visible to all, some to HR only, some to specific employees.
Performance Review Module handles self-reviews, manager feedback, KPI tracking, and appraisal history to replace scattered spreadsheets.
Employee Request System gives employees a ticket-style workflow for common requests ; payslips, address proof letters, reimbursements ; instead of routing everything through WhatsApp or email.
Step 7: Configure HR Workflows and Business Logic
Screens don't make an HR portal useful. Workflow logic does. Set clear rules for leave approval hierarchies, attendance corrections, payroll access, document verification, review cycles, and notification triggers. For example: employee applies for leave → request goes to manager → manager approves → HR notified → balance updates. That automation is what makes the portal worth building.
Step 8: Connect Existing HR and Business Systems
Your HR portal shouldn't become another isolated tool. Connect it to payroll software, accounting tools, biometric devices, Google Workspace, Slack, or email notifications through API-based integrations. Only integrate what solves a real problem. Don't add connections just because they sound advanced.
Step 9: Plan Employee Data Migration
If employee data currently lives in Excel, Google Sheets, or legacy HR tools, migrate it carefully. Standardize employee IDs, remove duplicates, clean department names, verify manager mappings, and validate payroll records before importing. Bad data migrated into a clean portal just makes the mess more visible.
Step 10: Customize the User Interface
HR portals need to be simple. Employees shouldn't need training to apply for leave or download a payslip. Each dashboard ; employee, manager, HR admin ; should answer basic questions instantly: How many leaves do I have? Is my request approved? Where is my payslip? A good interface reduces confusion rather than creating more screens.
Step 11: Add Role-Based Security and Compliance Controls
HR portals handle salary details, identity documents, bank information, and employment history. Security cannot be treated casually. Implement role-based access control, employee-level data restrictions, audit logs, secure document access, activity tracking, and approval history. Without proper access control, your HR portal becomes a data liability.
Step 12: Test the HR Portal Before Launch
Don't launch without testing real workflows. Verify that leave requests reach the right manager, balances update after approval, employees can only see their own records, notifications trigger correctly, and reports pull accurate data. Testing must involve HR, managers, and employees ; not developers alone. Developers check whether buttons work. HR checks whether workflows make sense. Both are essential.
Step 13: Launch the HR Portal
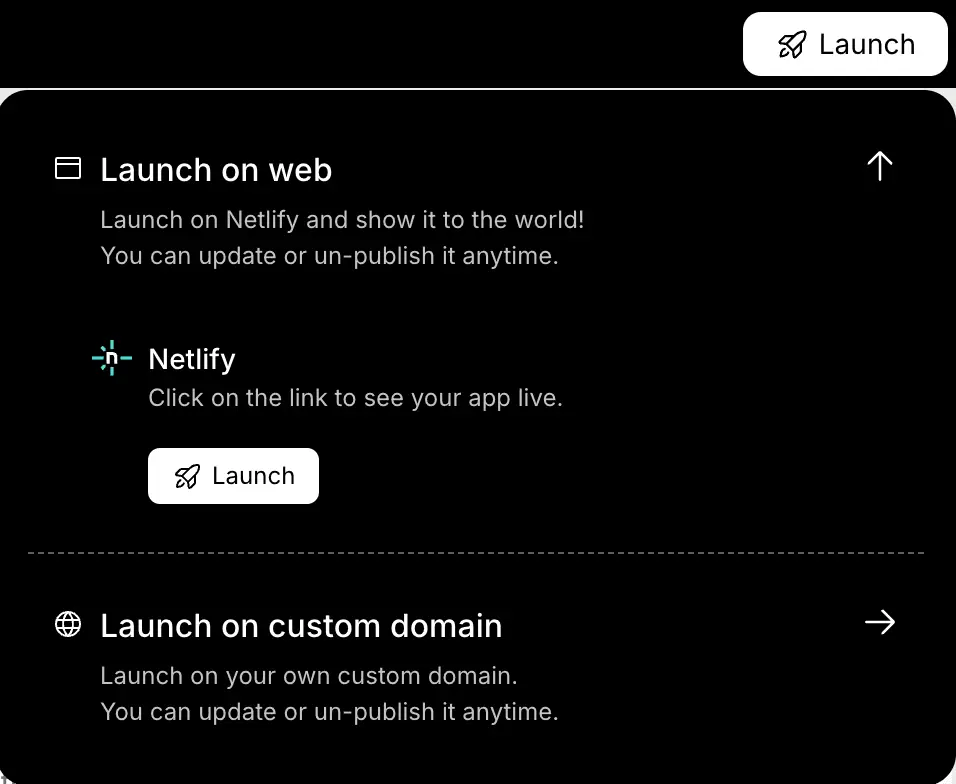
Launch in phases. Start with employee profiles, leave management, attendance, documents, and HR requests. Then roll out payroll, performance reviews, onboarding automation, and analytics. After launch, train employees and managers, collect feedback, monitor errors, and keep improving. HR portal development doesn't stop at deployment.
Measuring HR Portal Success
Track KPIs that reflect actual HR friction reduction: leave approval time, manual request volume, onboarding completion rate, payroll query reduction, manager approval delays, and employee self-service usage. If these numbers don't improve, the portal is just another software layer. The purpose isn't to "digitize HR" ; it's to make HR operations faster, clearer, and more controlled.
Common Mistakes to Avoid While Building an HR Portal
Avoid building too many features at once ; start with what hurts most. Never skip role-based access planning. Don't copy generic HR software; build around your workflow. Clean employee data before migration. Keep the interface simple. And always involve HR teams and managers early ; developers alone cannot define HR workflows.
How to Build an HR Portal That Truly Fits?
The strategy is straightforward: build the HR portal around how your company actually manages people. Start with clear requirements, define user roles, build core modules, add access controls, test every workflow, and launch in phases. Tools like Rocket.new can accelerate the process ; but the tool isn't the strategy. The strategy is building a system that improves HR operations instead of becoming another unused internal tool.
.png)
%20(1).png)
%20(1).png)
.svg)

